CSS Animation – Car Driving Infinite Scroll - Part 3
In part 1 and part 2 of this article series, you learned how to animate a street and clouds. In part 3, let’s finish by making and animating mountains.
Introduction
In part 3, the last one in this multipart article series, you will learn how to make mountains using the CSS clip-path: path() function. Then, you will animate them using the @keyframes at-rule property.
Part 3. Mountain Animation
This article will focus on the mountain animation. We recommend you please read Part 1 and Part 2 articles prior to working on Part 3. For details on how to make the sporty electric car, please read this CSS art article.
 Pyxofy
Preview
Car Driving Infinite Scroll with Mountains

Prerequisites
Essential CSS and HTML knowledge will help you understand the concepts and techniques introduced in this article. Jump over to this article if you require an HTML and CSS primer.
We assume that you have set up tools to create CSS animation. If you haven’t, this article will show you how to set them up.
Please read this article if you’re unfamiliar with CSS animation and the @keyframes at-rule property.
HTML Structure
<div class="container">
  <!-- Background -->
  <div class="background-container">
  </div>
  <!-- Mountains -->
  <div class="mountains-container">
    <div class="mountain-1"></div>
    <div class="mountain-2"></div>
    <div class="mountain-3"></div>
  </div>
  <!-- Clouds -->
  <div class="clouds-container">
    <div class="cloud-1"></div>
    <div class="cloud-2"></div>
    <div class="cloud-3"></div>
  </div>
  <!-- Foreground -->
  <div class="foreground-container">
    <div class="street-sideline"></div>
    <div class="street-middle-line"></div>
  </div>
  <!-- Car -->
  <div class="car-container">
    <div class="car-roof"></div>
    <div class="car-body"></div>
    <div class="design-line"></div>
    <div class="window"></div>
    <div class="head-light"></div>
    <div class="fog-light"></div>
    <div class="door-knob"></div>
    <div class="tail-light"></div>
  </div>
  <!-- Tire -->
  <div class="front-tire"></div>
  <div class="back-tire"></div>
</div>
container is the outermost enclosure. It enables the content to be centered and draws a light gray border. The rest of the divs represent each animation sequence.
Keep the HTML structure as is for each animation to display correctly.
Body and Container Div CSS
CSS code for the body and container div.
/* Body and Container Settings */
/* Center shapes */
body {
  margin: 0;
  padding: 0;
  height: 100vh;
  display: flex;
  justify-content: center;
  align-items: center;
  flex-wrap: wrap;
}

/* Set background and border color */
.container {
  min-width: 500px;
  height: 500px;
  border: 5px solid lightgray;
  background: transparent;
  position: relative;
  margin: 5px;
  display: flex;
  justify-content: center;
  align-items: center;
  overflow: hidden;
}
Mountains Overview

You will make a total of three mountains.
- Dark Green Mountain - This is the closest mountain to the street and car. It will move the fastest.
- Green Mountain - Mid-size mountain. Moderate animation speed.
- Light Green Mountain - Large-size mountain. This mountain moves the slowest compared to the two above.

All three mountains width property exceeds the container’s width value of 500px. For infinite scroll animations, you control which component is shown in the viewport with the CSS overflow property. We set the overflow value to hidden to hide any component outside the 500px x 500px container element.
In the next section, let’s make all three mountains with CSS.
How to Make the Mountains
First, let’s set the mountains-container element, which will group all three mountains.
.mountains-container {
  position: absolute;
  width: 500px;
  height: 500px;
  top: 120px;
  left: 0px;
  background: transparent;
}
The width and height are both set to 500px. We set the top property to 120px and left to 0px. The background is set to transparent.
All three mountains are made using the CSS clip-path: path() function. Please refer to this article for a detailed explanation of how the path() function works.
Pyxofy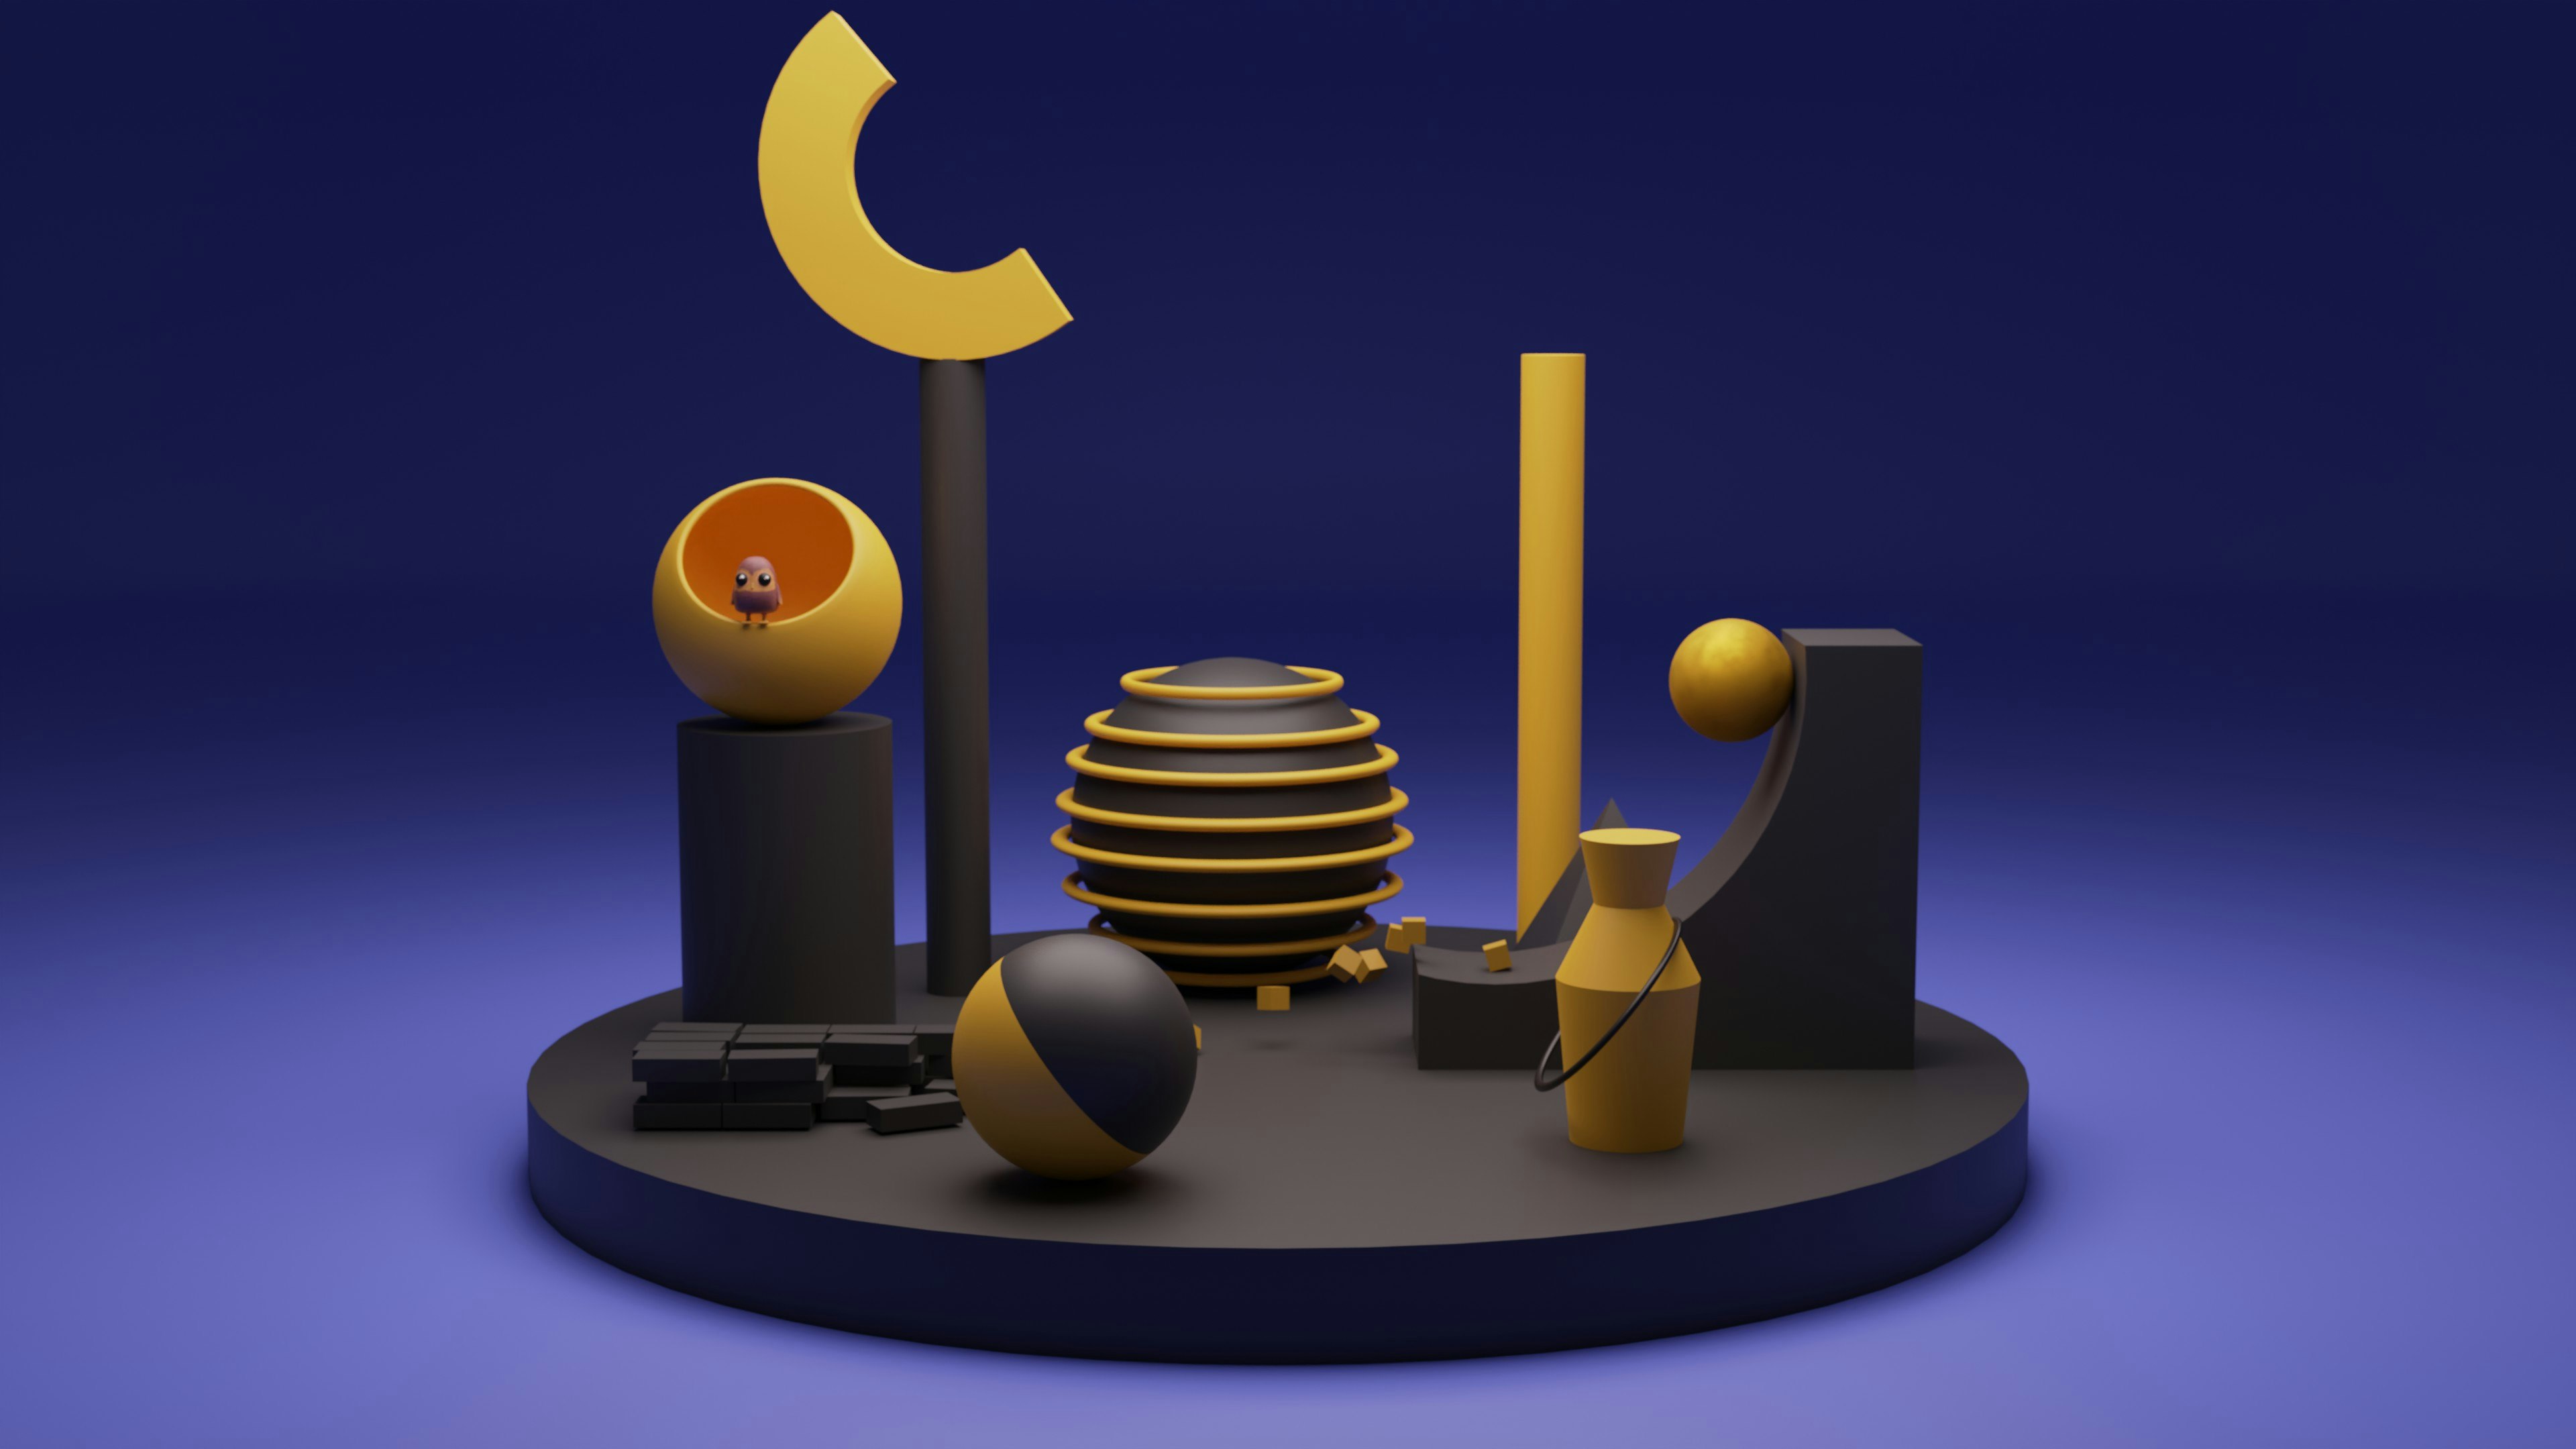
You can use SVG path visualizer tools like this one to help you understand the SVG code. All you need to do is copy and paste the SVG code within the path() function, and the visualizer tool will display the SVG shape.
Next, let’s start with Mountain 1.
- Mountain 1

.mountain-1 {
  position: absolute;
  width: 800px;
  height: 500px;
  top: 0px;
  left: 0px;
  background: rgb(202, 248, 196);
  clip-path: path("M 0,230 S 153,-41 270,14 S 449,-4 522,84 S 726,-33 800,230");
}
width is 800px, and height is set to 500px. Both the top and left CSS properties are set to 0px. To get the light green hue, set the background to rgb(202, 248, 296).
- Mountain 2

.mountain-2 {
  position: absolute;
  width: 800px;
  height: 200px;
  top: 50px;
  left: 0px;
  background: rgb(165, 214, 69);
  clip-path: path(
    "M 0,200 S 31,6 96,23 S 164,-36 242,37 S 314,-13 386,34 S 465,50 800,200"
  );
}
The width is set to 800px and the height is 200px. top is set to 50px and left is 0px. background: rgb(165, 214, 69) gives the shape its green shade.
- Mountain 3

.mountain-3 {
  position: absolute;
  width: 600px;
  height: 100px;
  top: 130px;
  left: 0px;
  background: rgb(0, 127, 0);
  clip-path: path(
    "M 0,100 S 101,13 125,58 S 205,22 300,60 S 330,12 408,64 S 454,11 600,100"
  );
}
CSS width is 600px and height is 100px. The top property is set to 130px and 0px for the left. background is set to rgb(0, 127, 0) to get a dark green color.

Layering all three mountains from the shortest to the tallest provides a sense of depth to the animation. In the next section, let’s animate the mountains.
Make the Mountains Move
- Mountain 1 Animation
.mountain-1 {
  animation: mountain-1 35s linear infinite;
}
The animation name is mountain-1. The animation will last for 35 seconds. It will progress in a linear fashion and will loop infinitely.
@keyframes mountain-1 {
  from {
    left: 800px;
  }
  to {
    left: -800px;
  }
}
Mountain 1 and the rest of the mountains will move from the right side of the screen to the left. Hence, we set the left property to start at 800px and finish at -800px. Any value that is over the viewport width, for this article 500px, will hide portions of the mountains from the viewer.
- Mountain 2 Animation
.mountain-2 {
  animation: mountain-2 25s linear infinite;
}
The animation name is mountain-2 and will last for 25 seconds. The remaining CSS property values are similar to Mountain 1.
@keyframes mountain-2 {
  from {
    left: 600px;
  }
  to {
    left: -800px;
  }
}
For Mountain 2, the initial left property is set to 600px and finishes at -800px.
- Mountain 3 Animation
.mountain-3 {
  animation: mountain-3 15s linear infinite;
}
The Mountain 3 animation is the shortest of all three; it lasts for 15 seconds.
@keyframes mountain-3 {
  from {
    left: 650px;
  }
  to {
    left: -600px;
  }
}
Mountain 3’s starting left position is 650px, and the end position is set to -600px.
You can see and play with the complete code on Pyxofy’s CodePen page.
See the Pen CSS Animation - Car Driving Infinite Scroll - Part 3 by Pyxofy (@pyxofy) on CodePen.
Conclusion
In part 3 of this multi-part article series, you learned how to make mountains using the CSS clip-path: path() function. Using CSS @keyframes, you made the mountains move.
Infinite scroll animations look complex. But once you break them down to their core components, making each component is easy and fun. Expand on the components you made throughout the series. Modify the car and sky colors. How about changing the mountain shapes to a more triangular shape?
Please share your masterpiece with us on LinkedIn, Threads, Mastodon, X (Twitter) @pyxofy or Facebook.
We hope you liked this article. Kindly share it with your network. We appreciate it.
Related Articles
Pyxofy Pyxofy